
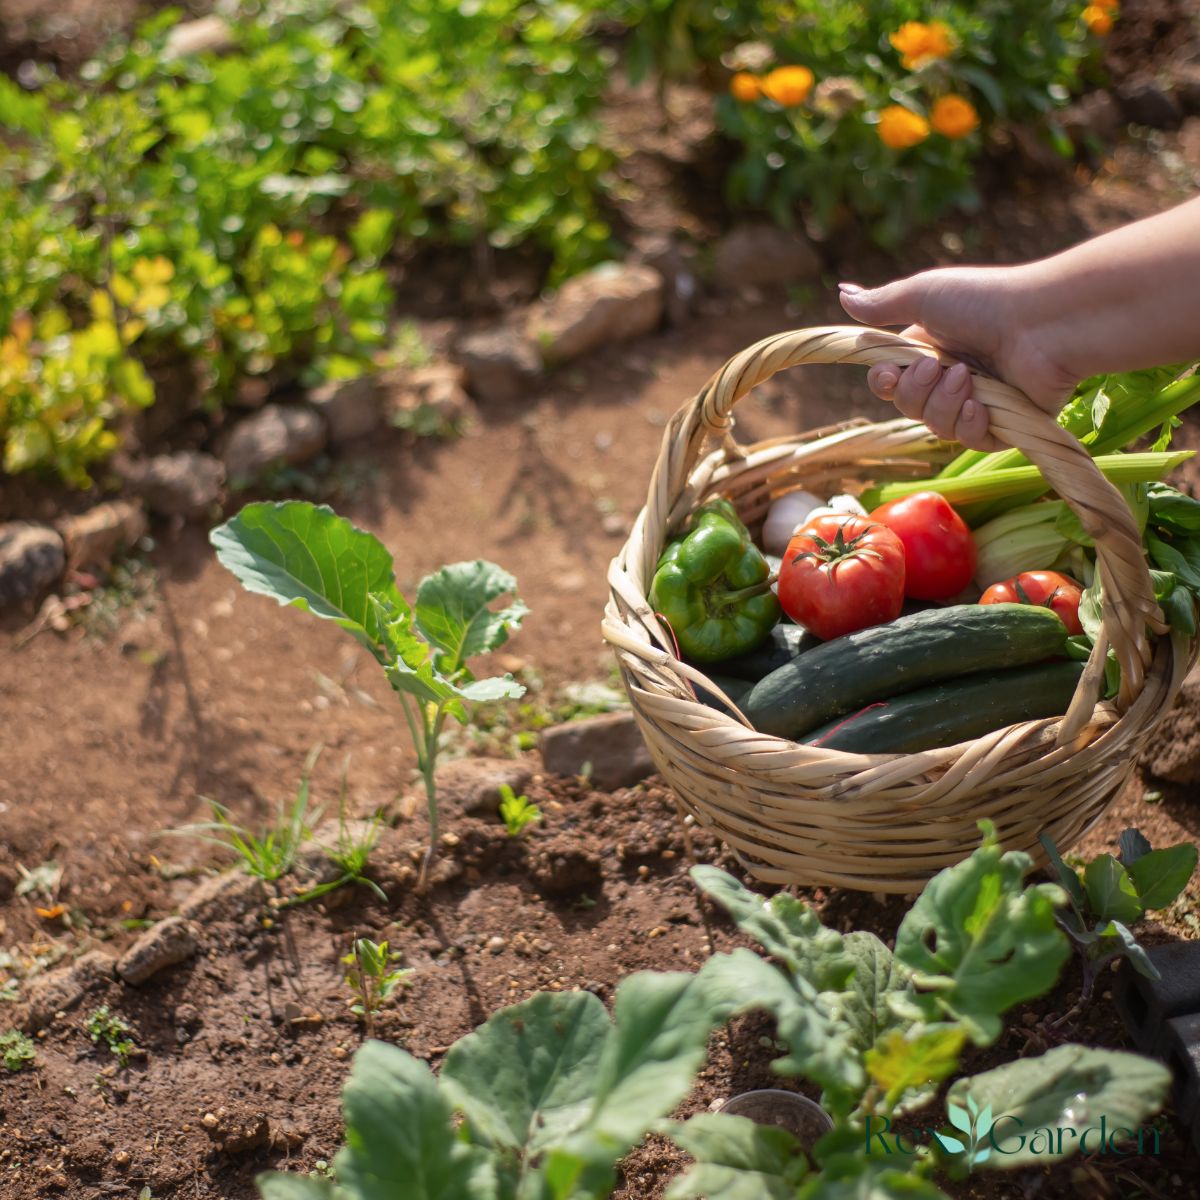
The dream is a familiar one: stepping out your back door to snip fresh herbs for dinner, plucking a sun-warmed tomato straight from the vine, or cutting a bouquet of vibrant flowers you grew yourself. But for many beginners, the idea of starting your first garden can feel incredibly overwhelming. Where do you begin? What do you need? What if you kill everything?
Take a deep breath. Gardening is one of the most rewarding journeys you can embark on, and it’s far more forgiving than you think. The secret isn’t some magical "green thumb"; it’s about starting small, learning a few basics, and enjoying the process.
Read Next
- Step 1: Decide What You Want to Grow
- Step 2: Find the Right Spot
- Step 3: In-Ground, Raised Beds, or Containers?
- Step 4: Essential Tools
- Step 5: Prepare Your Soil
- Step 6: Time to Plant: Seeds vs. Young Plants (Starts)
- Step 7: The First Few Weeks: Watering, Weeding, and Watching
- Embrace the Journey
- 💬 Feedback
This beginner's guide to gardening will demystify the entire process, breaking it down into seven simple, manageable steps. We'll walk you through everything from choosing your plants to preparing your soil, ensuring you have the confidence and knowledge to turn that patch of dirt into a source of pride and produce.
Step 1: Decide What You Want to Grow
Before you dig a single hole, you need a vision. Starting with the plants you want to grow is the most important first step because it will dictate the size, location, and type of garden you need.
Start with What You Love to Eat
The best way to stay motivated is to grow things you are genuinely excited about. Do you love making fresh salsa? Prioritize tomatoes, cilantro, and jalapeños. Are you a fan of big, fresh salads? Focus on lettuce, cucumbers, and radishes. Making a list of your family’s favorite vegetables and herbs is the perfect starting point.
Start Small
The number one mistake new gardeners make is planting too much, too soon. A massive garden can quickly become a stressful, weedy nightmare. It is far better to have a wildly successful 4x4 foot plot than a failed 20x20 foot one. You can always expand next year.
The Easiest Plants for Your First Garden
Some plants are simply more forgiving and productive than others. Choosing from this list will dramatically increase your chances of a successful and confidence-boosting first harvest.
| Plant Type | Recommended Varieties | Why It's Easy for Beginners |
| Leafy Greens | Leaf Lettuce (e.g., 'Black Seed Simpson'), Spinach, Swiss Chard | Grow quickly, can be harvested multiple times ("cut-and-come-again"), and have few pest problems. |
| Root Vegetables | Radishes, Bush Beans, Carrots | Radishes mature in as little as 3-4 weeks. Bush beans are very productive and don't require trellising. |
| Fruiting Plants | Zucchini/Summer Squash, Cherry Tomatoes, Bush Cucumbers | Incredibly prolific (you'll be giving zucchini away!). Cherry tomatoes are easier to grow and more disease-resistant than large varieties. |
| Herbs | Basil, Mint, Parsley, Chives, Rosemary | Resilient, can be grown in small pots, and a little goes a long way in the kitchen. (Pro-tip: Always plant mint in its own container, as it will spread and take over a garden bed). |
(See my post on the 10 easiest vegetables to grow for new gardeners.)

Step 2: Find the Right Spot
Your garden's location is the single most critical factor for success. Most beginner-friendly plants, especially vegetables and herbs, are sun-worshippers.
Conduct a "Sun Audit"
Before committing to a location, you need to observe how the sun moves across your yard. Here’s how:
- Go outside in the morning (around 9 a.m.) and note which areas are in full sun.
- Check again at midday (around 1 p.m.).
- Check a final time in the late afternoon (around 4 p.m.).
Your ideal garden spot should receive at least 6-8 hours of direct, uninterrupted sunlight per day. Less than 6 hours will result in stunted growth and a disappointing harvest for most vegetables.
Other Location Factors to Consider
- Water Access: Is there a hose or spigot nearby? Lugging heavy watering cans across the yard gets old very quickly.
- Visibility: Choose a spot you will walk by every day. The old saying, "out of sight, out of mind," is especially true for gardening. If you see it, you're more likely to notice when it needs water or weeding.
- Stability: Avoid windy corridors that can damage young plants and low-lying areas where water might pool after heavy rain.
Step 3: In-Ground, Raised Beds, or Containers?
Now that you know where your garden will go, you need to decide what kind of garden it will be. Each style has its own pros and cons for a first-time gardener.
| Garden Style | Pros | Cons | Best For |
| In-Ground Bed | ✓ Lowest initial cost ✓ Most traditional method ✓ Allows for deep root growth | ✗ Requires good native soil ✗ More bending and kneeling ✗ Can be harder to keep weeds out | Gardeners with decent soil who want the most affordable and natural-looking option. |
| Raised Bed | ✓ Total control over soil quality ✓ Excellent drainage ✓ Less weeding and soil compaction ✓ Warms up faster in spring | ✗ Higher upfront cost for materials ✗ Can dry out faster than in-ground beds | Beginners who have poor or rocky native soil, or those who want a neat, manageable, and ergonomic setup. |
| Container Gardening | ✓ Perfect for small spaces (patios, balconies) ✓ Almost no weeding ✓ Can be moved to follow the sun | ✗ Requires the most frequent watering ✗ Limits plant size and variety ✗ Soil must be replaced every few years | Renters, gardeners with no yard space, or those who want to start with just a few easy-to-manage plants. |
Step 4: Essential Tools
You do not need a shed full of expensive equipment to start a garden. Resist the urge to buy every shiny gadget at the garden center and focus on these five non-negotiable basics.
- Gardening Gloves: Protect your hands from dirt, thorns, and blisters.
- Hand Trowel: Essential for digging small holes for planting seeds and seedlings.
- Watering Can or Hose with Nozzle: A gentle "shower" setting on a hose nozzle is best for watering young plants without washing them away.
- Pruning Shears or Garden Scissors: Crucial for harvesting herbs and vegetables and for trimming away dead or diseased leaves.
- Spade or Shovel: If you’re starting an in-ground bed, you'll need a sturdy spade to break new ground and turn the soil.
Step 5: Prepare Your Soil
This is the most important step of all. Great soil is the key to a healthy, productive garden. Do not skip this.
For In-Ground Gardens
- Remove the Sod: Outline your garden area and use a spade to slice under the grass, removing it in sections.
- Loosen the Soil: Use a shovel or a garden fork to turn and loosen the soil to a depth of about 8-12 inches.
- Amend, Amend, Amend: This is the secret. Most native soil lacks the rich organic matter plants need to thrive. Spread a 3-4 inch layer of compost or high-quality bagged garden soil over the entire bed and mix it thoroughly into your loosened native soil. This improves drainage, adds vital nutrients, and creates a soft, rich medium for roots.
For Raised Beds and Containers
Crucial Tip: Do not fill your raised beds or containers with soil from your yard. It will compact into a brick and suffocate your plants. You need to buy a specific soil blend.
- For Raised Beds: The ideal mix is roughly 60% topsoil, 30% compost, and 10% potting mix (or perlite/vermiculite) for aeration. Many garden centers sell pre-mixed raised bed soil.
- For Containers: You must use soil labeled "Potting Mix." This is a soilless, lightweight blend specifically designed to provide the right balance of drainage, aeration, and moisture retention for a container environment.
Step 6: Time to Plant: Seeds vs. Young Plants (Starts)
This is the exciting part! You have two choices for getting plants into your garden.
Seeds vs. Starts: Which is Right for a Beginner?
- Seeds: Pros are that they're very inexpensive and offer a huge variety of choices. Cons are that they require more patience and can be tricky to germinate successfully.
- Starts (Young Plants/Seedlings): Pros are that they give you a huge head start and are much easier for a first-timer. The professionals have already done the hard work of germination. Cons are that they are more expensive and offer fewer varieties.
Our recommendation for your first garden is to use starts. The confidence boost you'll get from their immediate success is invaluable.
How to Plant a Start
- Read the Plant Tag: This little piece of plastic is your instruction manual. It will tell you the most important information: how far apart to space your plants.
- Water Before Planting: Water the plant in its nursery pot about an hour before you plan to plant it.
- Dig the Hole: Dig a hole that is slightly wider and just as deep as the container the plant is in.
- Gently Remove the Plant: Tip the container on its side and gently squeeze it to loosen the plant. Support the base of the stem and slide it out. Never pull it out by the stem.
- Loosen the Roots: If the roots are tightly wound in a circle (root-bound), gently tease them apart with your fingers.
- Plant and Water In: Place the plant in the hole, making sure the top of its root ball is level with the surrounding ground. Fill the hole back in with soil, gently firming it down. Water the newly planted start thoroughly to help the soil settle around the roots.
Step 7: The First Few Weeks: Watering, Weeding, and Watching

Your garden is planted! Now your job is to keep it happy.
Watering
- How to Water: Water deeply and less frequently. A long, slow soak encourages deep root growth. Light, shallow sprinklings every day create weak, shallow roots.
- When to Water: The best time is early in the morning to reduce evaporation and prevent fungal diseases.
- The Finger Test: The best way to know if your garden needs water is to stick your finger about two inches into the soil. If it feels dry, it's time to water.
Mulching: Your Best Friend
Once your plants are a few inches tall, apply a 2-3 inch layer of mulch (like straw, shredded leaves, or wood chips) over the bare soil. Mulch is a game-changer because it:
- Drastically reduces the number of weeds.
- Helps the soil retain moisture, meaning you have to water less.
- Regulates soil temperature.
Weeding
Check your garden for weeds every few days. Pulling them when they are small is a quick and easy task. Letting them get big allows them to steal water and nutrients from your plants.
Embrace the Journey
Starting your first garden is a journey of learning and discovery. Don't strive for perfection; strive for progress. Some plants will thrive, and some may not—and that’s okay. Every experienced gardener has made countless mistakes.
The goal is not a flawless, magazine-perfect plot. It's the joy of connecting with the earth, the satisfaction of eating something you grew with your own hands, and the simple pleasure of watching life sprout from the ground.
The best time to start a garden was last year. The second-best time is now. Follow these steps, start small, and get ready to be amazed at what you can grow. Happy gardening
Comments
No Comments