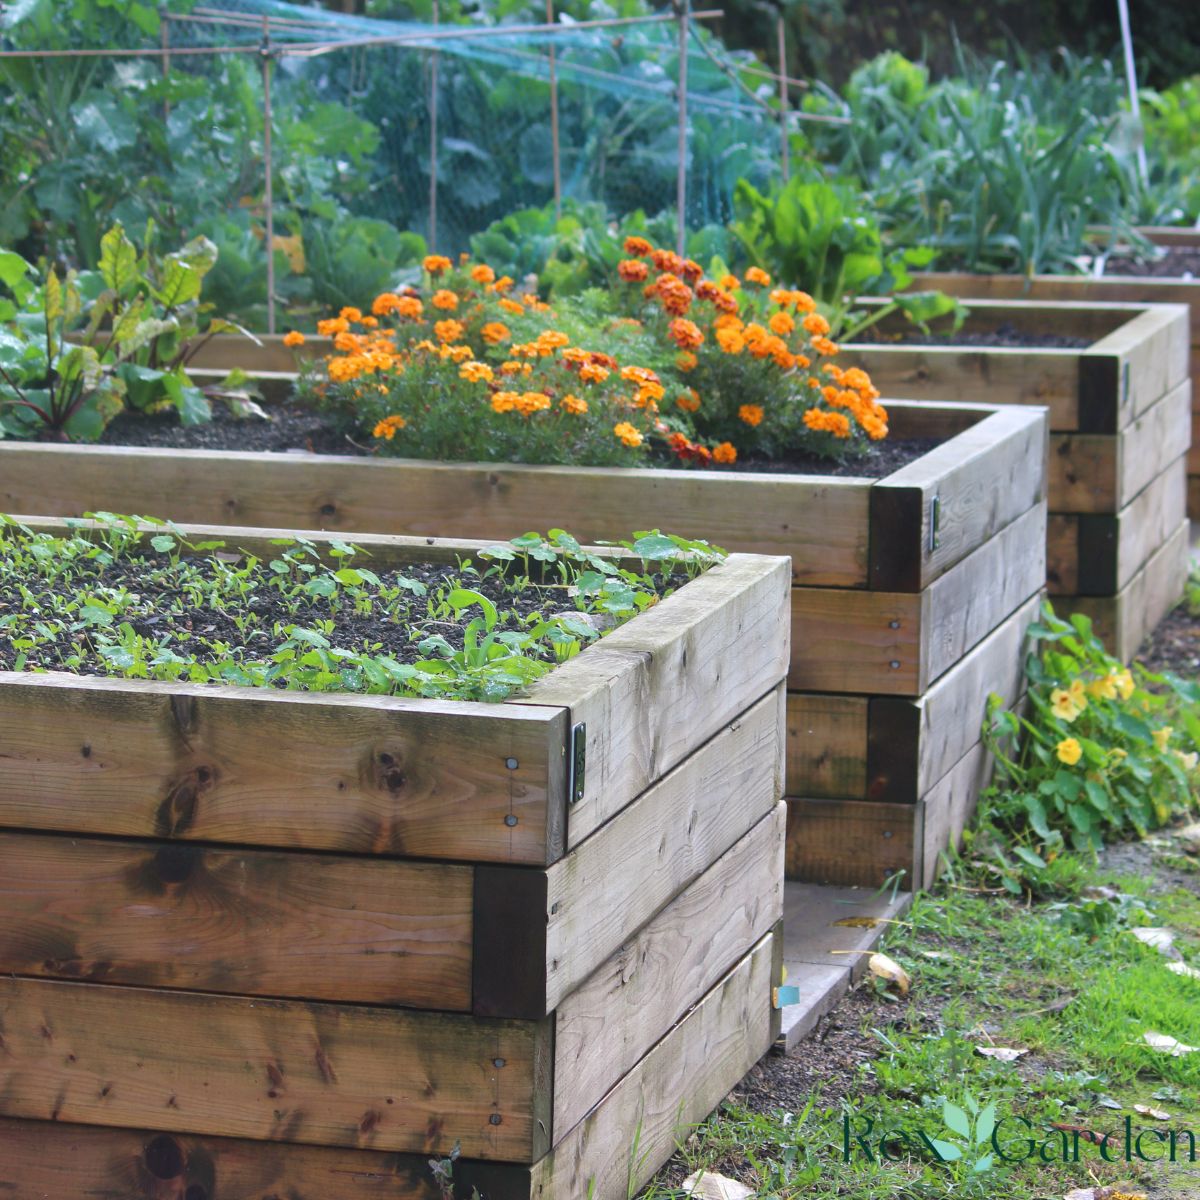
So, you finally bought or built that beautiful, 2-foot-deep raised garden bed. It looks amazing in your yard, but then you do the math.
Filling a standard 4x8-foot raised bed that is 24 inches deep requires roughly 64 cubic feet of soil. If you buy standard 1.5-cubic-foot bags of premium organic raised bed soil at $10 to $15 a pop, you are looking at a receipt for $400 to $600 just for dirt.
Read Next
Ouch. That is enough to make anyone reconsider growing their own tomatoes.
But here is the secret that seasoned gardeners and permaculture experts know: Your plants don't need 2 feet of pristine, store-bought soil. Most vegetable roots only occupy the top 6 to 12 inches of a bed. Filling the bottom half with expensive soil isn't just a waste of money; it actually misses a massive opportunity to build a self-feeding, moisture-retaining ecosystem right in your backyard.
Here is the smart, ecologically sound way to fill your deep raised beds for under $20.
The Secret: Modified Hügelkultur
Instead of filling the entire bed with soil, we use a centuries-old German gardening technique called Hügelkultur (literally "mound culture"). Traditional hügelkultur involves burying large logs and brush under mounds of soil.
When adapted for a modern raised bed, you layer bulky, organic materials at the bottom that decay slowly over time. As they break down, they act like a sponge, holding onto water during droughts and releasing rich nutrients to your plants from underneath.
By layering your bed this way, you only need to purchase commercial soil for the very top layer. Here is how to build your layers from the ground up.
Step-by-Step: The $20 Layering Blueprint
Before you start, lay down a layer of plain, unprinted cardboard at the very bottom of the bed. Scrape off any plastic tape or shipping labels first. This suffocates existing grass and weeds but decays easily enough for earthworms to pass through.
1. The Base Layer: Heavy Wood: Cost: $0.
Fill the bottom 30-40% of your bed with old logs, thick tree branches, and chunks of wood. Look for fallen limbs in your yard or ask a neighbor. Tip: Use rotting wood if you can find it—it already has beneficial fungi and acts like an immediate water reservoir. Avoid black walnut, cedar, or black locust, as they contain natural chemicals that inhibit plant growth or resist decay.
2. The Sub-Layer: Twigs and Brush: Cost: $0.
Step on the logs to pack them down, then toss in smaller twigs, sticks, and yard trimmings to fill the large gaps between the logs.
3. The Green Layer: Nitrogen Rich Materials: Cost: $0.
Add a 2-to-3-inch layer of "green" organic matter. Think fresh grass clippings, green leaves, plant trimmings, or even fruit and vegetable kitchen scraps. This layer acts as an accelerator, heating up and kicking off the composting process down below.
4. The Buffer Layer: Finished Compost or Leaf Mold: Cost: $0 - $5.
If you have a backyard compost bin, scoop a few shovelfuls of half-done or finished compost over the green layer. Alternatively, use bagged autumn leaves from last season. This introduces the microbes needed to break down the wood.
5. The Planting Layer: Quality Topsoil and Compost: Cost: ~$15.
This is where your $20 budget finally comes into play. Fill the remaining top 6 to 8 inches of the bed with a blend of topsoil and organic compost. Because you only need a fraction of the total volume, you can easily buy 3 to 4 cheap bags of topsoil ($3 each) and a bag of compost or manure ($4) to mix together for your planting zone.
Why This Method Beats 100% Bagged Soil
Aside from saving hundreds of dollars, filling your deep raised bed this way actually results in healthier plants.
- Insane Water Retention: The buried wood acts like an underground sponge. During heavy rains, it soaks up water. During dry spells, plant roots tap into that deep moisture, meaning you have to water significantly less.
- Built-in Geothermal Heat: As the organic matter in the bottom layers breaks down, the microbial activity generates a small amount of heat. This warms the soil from below, allowing you to plant earlier in the spring and harvest later into the autumn.
- Natural Aeration: As the wood slowly shrinks and decays over a 5-to-10-year period, it creates microscopic air pockets in the bed, preventing the soil from becoming compacted and heavy.
What to expect in Year 2: Because the materials at the bottom will decay and compress, your soil level will likely drop by 2 to 4 inches by next spring. Don't panic! Simply top off the bed next year with a fresh layer of compost.
Where to Find Free Fillers
If your yard is pristine and lacks logs or grass clippings, don't buy them! You can source everything you need for free with a little creativity:
- ChipDrop: A free service that connects gardeners with local arborists looking to dump wood chips and logs.
- Local Coffee Shops: Most local cafes or Starbucks will give you massive bags of spent coffee grounds for free (excellent for the green nitrogen layer).
- Neighbor's Yard Waste: Keep an eye out for neighbors raking leaves or trimming trees and ask if you can take their yard waste off their hands.
Filling a deep raised bed shouldn't feel like taking out a second mortgage. By letting nature do the heavy lifting underground, you can build a thriving, highly productive garden bed this weekend for less than the price of a takeout lunch.
Comments
No Comments