Want to grow fresh herbs, crisp lettuce, and vibrant greens year-round without dirt, weeds, or a huge backyard?
Hydroponics—the practice of growing plants in nutrient-rich water instead of soil—might sound like high-tech science, but it’s remarkably simple to set up at home. In fact, you can build your own high-yielding indoor hydroponic garden in under an hour using basic, budget-friendly materials.
Read Next
Below is everything you need to know to build, plant, and maintain your first DIY hydroponic system from start to finish.
Why Choose Hydroponic Gardening?
Before diving into the build, here’s why thousands of home growers are ditching soil for water:
- 30–50% Faster Growth: Plants spend less energy hunting for nutrients through soil, allowing them to grow much faster.
- Up to 90% Less Water: Because the system recirculates water, hydroponics uses a fraction of the water a traditional garden requires.
- Zero Weeding & Fewer Pests: No soil means no soil-borne pests, weeds, or muddy cleanup.
- Year-Round Harvests: Grow fresh greens inside your home regardless of the weather outside.
🛠️ Materials & Supplies Needed
To build a simple Deep Water Culture (DWC) or Kratky-style passive system, gather these basic materials:
| Item | What It Does | Pro Tip |
| Opaque Container / Tote (10–20 Liter) | Holds the water and nutrients | Must be dark/opaque to block light and prevent algae growth. |
| Net Pots (2 or 3-inch) | Holds the plant in place while letting roots reach the water. | Buy net pots with wide lips so they rest easily in the lid. |
| Growing Medium | Anchors root systems (e.g., Rockwool or Clay Pebbles/LECA). | Soak rockwool in water before planting. |
| Hydroponic Nutrients | Replaces soil minerals to feed the plants. | Use liquid nutrients formulated specifically for hydroponics. |
| Small Aquarium Air Pump & Air Stone (Optional) | Aerates the water to maximize root health and growth speed. | Highly recommended for maximum plant yield. |
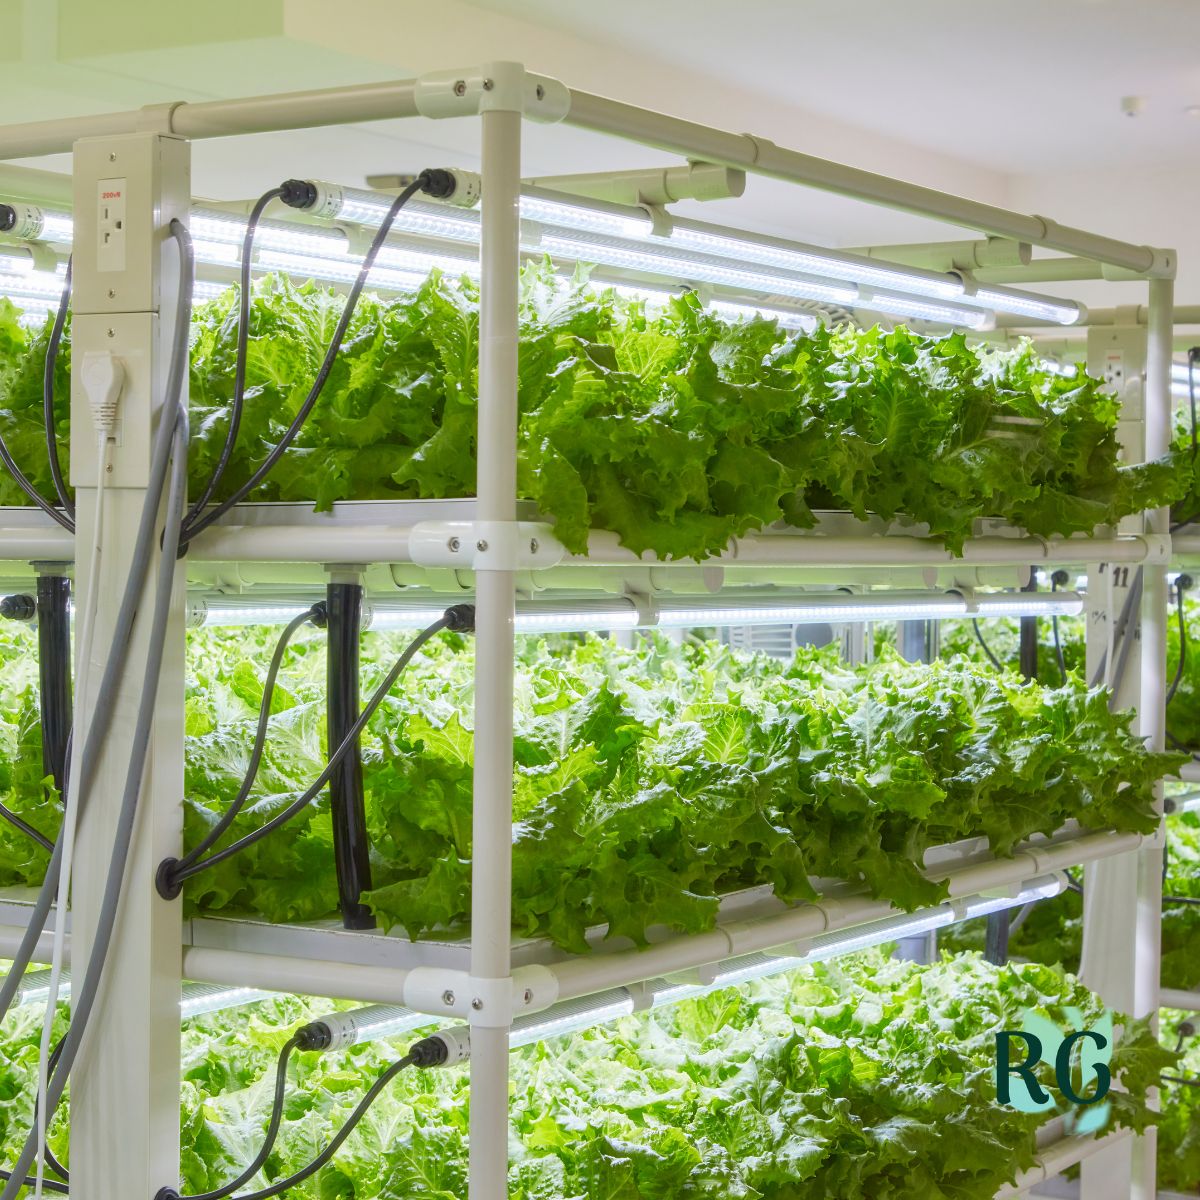
| Grow Light | Supplies artificial sunlight for indoor spaces. | Simple LED grow lights work best for leafy greens. |
🛠️ Step-by-Step Build Instructions
Step 1: Prep the Container Lid
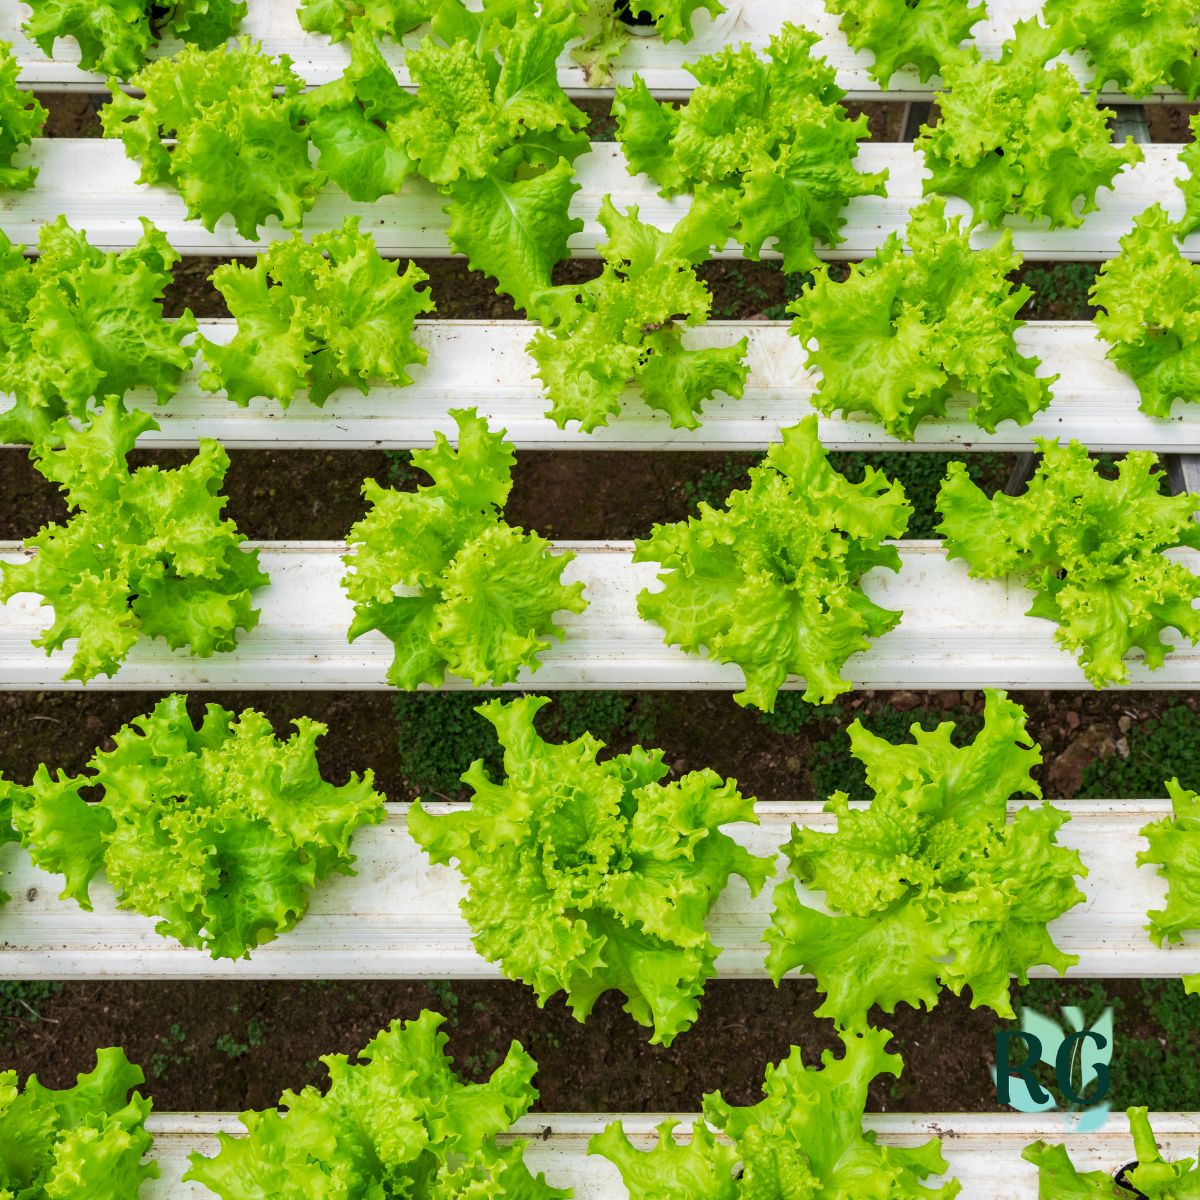
Using a hole saw attachment on a drill, cut holes into the plastic container lid. Space the holes 4 to 6 inches apart to give your plants ample room to grow. Make sure the hole diameter matches your net pots so they rest securely without falling through.
Step 2: Set Up Aeration (Optional, but Recommended)
Place an air stone at the bottom of your reservoir. Connect it with airline tubing through a tiny hole near the top of the container to an external aquarium air pump. Oxygenating the water dramatically accelerates root development and prevents root rot.
Step 3: Mix the Nutrient Solution
Fill your reservoir container with fresh water. Mix in your hydroponic nutrients according to the package directions. (Ideal pH range: 5.5 to 6.5).
Step 4: Plant Your Crops
- Place a plant starter seedling (grown in Rockwool) inside a net pot.
- Fill any extra space around the base with clay pebbles (LECA) to stabilize the plant.
- Lower the net pots into the holes on your lid. Ensure the bottom of each pot slightly touches the top layer of the water solution.
Step 5: Set Up Lighting
Position an LED grow light roughly 6 to 12 inches above your plants. Connect the light to an automated timer so your plants get 12 to 16 hours of light daily.
See my article on the DIY how to make homemade hydroponic nutrients.
🌿 Best Plants for Beginners
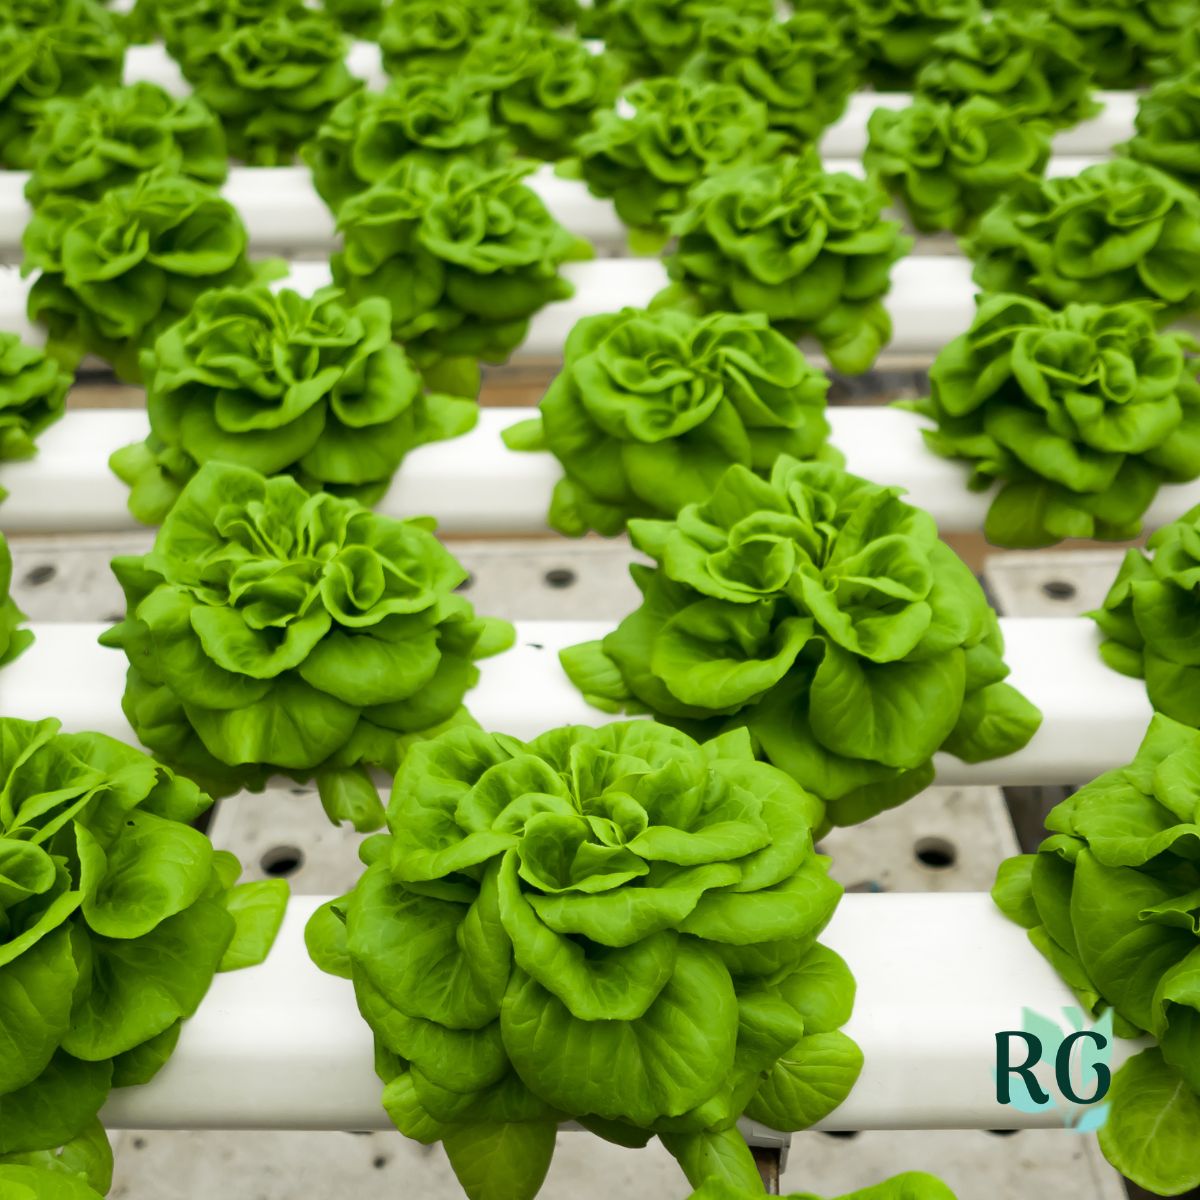
When starting out, choose fast-growing, low-maintenance plants. The best options include:
- Leafy Greens: Butterhead lettuce, Romaine, Arugula, Spinach
- Herbs: Basil, Mint, Cilantro, Parsley, Dill
- Small Crops: Strawberries, dwarf peppers
See my article on the best plants to grow in your hydroponic garden.
🧼 Weekly Maintenance Checklist
Maintaining a DIY hydroponic setup only takes a few minutes a week:
- ✅ Top off water levels: As plants drink, replace absorbed water.
- ✅ Check pH levels: Keep the pH between 5.5 and 6.5 using a simple testing kit.
- ✅ Flush and refill (Every 2–3 weeks): Empty the reservoir, wash it with mild soapy water, and fill it with fresh water and nutrients to avoid mineral buildup.
Frequently Asked Questions (FAQ)
Yes! An outdoor covered patio or sunny windowsill works. However, indoor setups with LED grow lights give you full control over temperature, light duration, and pests.
Yellowing leaves usually signal either a nutrient deficiency or a pH imbalance preventing nutrient absorption. Test your water's pH and ensure you are mixing nutrients at the correct ratio.
Not strictly! Passive systems (like the Kratky Method) don't use pumps. However, adding an air pump increases oxygen in the water, making plants grow significantly faster and healthier.
Comments
No Comments