
Welcome to the wonderful world of backyard chickens! The decision to raise your own flock is a rewarding journey that brings you closer to your food source, provides endless entertainment, and delivers the freshest eggs you’ve ever tasted. But for a beginner, the process can seem daunting. Where do you even start?
Read Next
This guide is designed to walk you through every step, from initial planning to that moment you collect your very first egg. We'll break down the process into stages to ensure you start your chicken-keeping adventure with confidence and success.
Step 1: Research, Rules, and Reality Checks
Before you fall in love with the fluffy chicks at the feed store, the most crucial first step is to do your homework. A little planning now prevents major headaches later.
Understanding Local Laws and Ordinances
You cannot assume that you are allowed to keep chickens where you live. Many cities, towns, and even homeowners' associations (HOAs) have specific rules. You need to investigate the following:
- Are chickens permitted? Check your local municipal code, which is often available on your town or city's website.
- Is there a flock size limit? Many urban areas limit the number of hens you can keep (e.g., no more than six).
- Are roosters allowed? Roosters are famously loud and are banned in most residential areas. Remember, you do not need a rooster for hens to lay eggs, see my detailed post going over the pros and cons do I need a rooster?
- Are there coop regulations? Some ordinances specify how far your coop must be from your property line and your neighbors' homes.
- Do you need a permit? Some locations require you to register your flock and obtain a permit.
A quick call to your local planning or zoning department can clarify these rules and save you from potential fines or being forced to re-home your flock.
The Time and Financial Commitment
Raising chickens is a daily commitment. While they are relatively low-maintenance pets, they require consistent care every single day.
- Daily Tasks (10-15 minutes): Letting them out of the coop, providing fresh food and water, checking for eggs, and a quick health check.
- Weekly Tasks (30-60 minutes): Coop cleaning (removing soiled bedding and replacing it with fresh material), tidying the run, and refilling feeders and waterers.
- Monthly/Seasonal Tasks: Deep cleaning the coop, pest prevention, and preparing the flock for changing seasons like extreme heat or cold.
Financially, the initial setup is the most significant investment. Costs include the coop, brooder supplies, feeders, waterers, and the chicks themselves. Ongoing costs include feed, bedding, and potential veterinary expenses.
(See my post Are Chickens Right for You? 7 Questions to Ask Before Getting a Flock)
Step 2: Choosing Your Chickens
With the legalities sorted, it’s time for the fun part: picking your birds! For beginners, it's best to start with breeds known for their docile temperaments, hardiness, and reliable egg production.
Breeds vs. Hybrids
- Heritage Breeds: These are traditional, purebred chickens like Plymouth Rocks, Orpingtons, and Wyandottes. They tend to be hardier, live longer, and are good "dual-purpose" birds (meaning they are suitable for both eggs and meat). They will also hatch their own chicks if you decide to introduce a rooster later.
- Hybrid Breeds: These chickens, such as the Golden Comet or ISA Brown, have been specifically bred for maximum egg production. They are egg-laying machines but may have shorter lifespans and are less likely to brood (sit on and hatch eggs).
Beginner-Friendly Breed Comparison
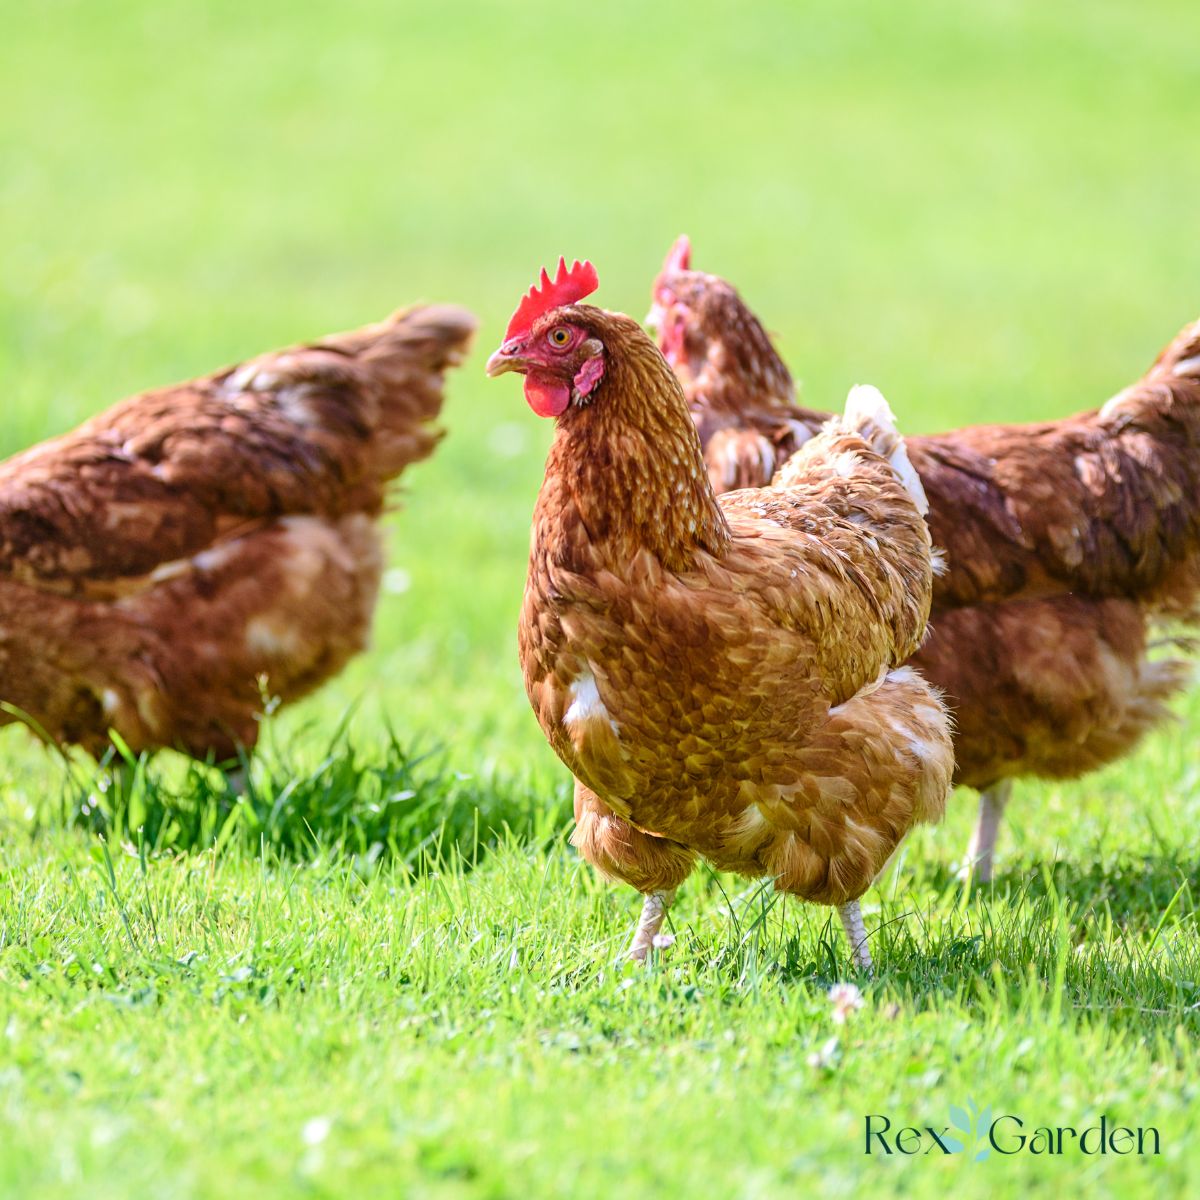
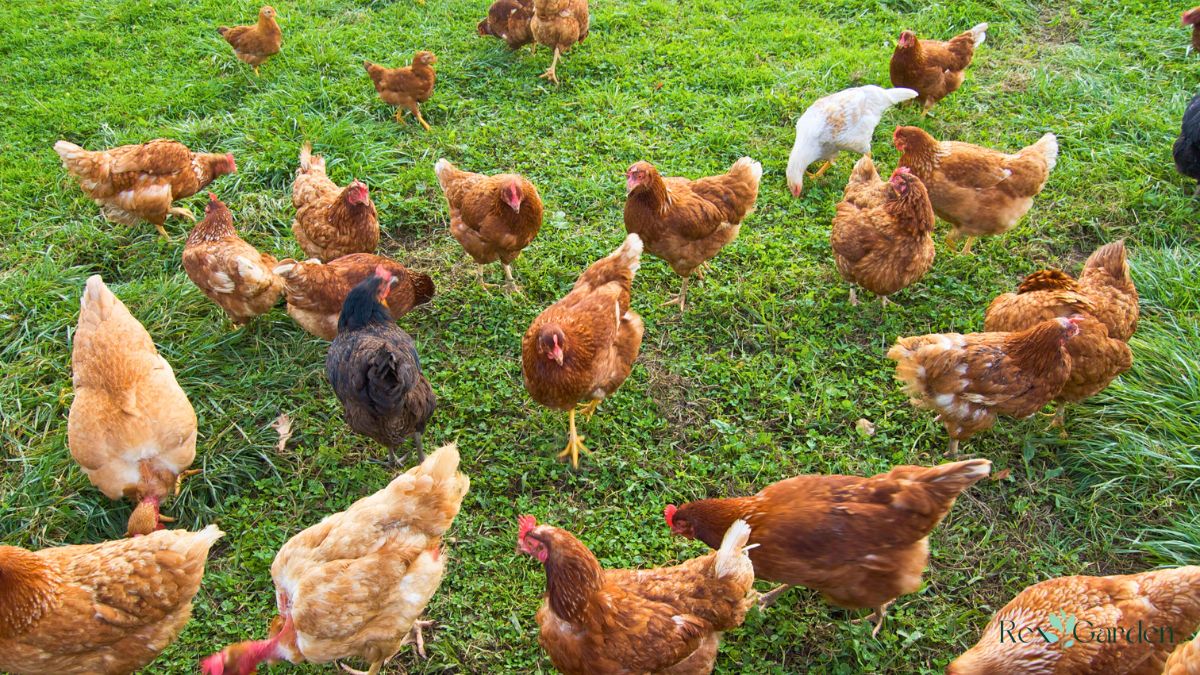
Starting with 3 to 6 hens is a perfect number for a beginner. Chickens are social animals and need companionship, so you should never keep just one.
| Breed Name | Temperament | Egg Color | Approx. Eggs/Year | Notes for Beginners |
| Orpington | Very Calm, Friendly | Brown | 180-200 | Excellent for families with children. Cuddly and handles confinement well. |
| Plymouth Rock | Docile, Easygoing | Brown | 200-250 | A classic, reliable American breed. Very hardy and a dependable layer. |
| Australorp | Gentle, Calm | Brown | 250-300 | One of the best layers among heritage breeds. Known for their sweet nature. |
| Wyandotte | Calm, Confident | Brown | 200-240 | Beautiful birds with intricate feather patterns. Very cold-hardy. |
| Easter Egger | Friendly, Curious | Blue, Green, Olive | 200-250 | A mixed-breed "mutt" that lays colorful eggs. A fun and popular choice. |
| Golden Comet | Active, Efficient | Brown | 280-320 | A hybrid known for being an egg-laying superstar. Great for beginners focused on production. |
Chicks, Pullets, or Hens?
You can acquire your flock at three different life stages:
- Day-Old Chicks: This is the most common and cheapest option. You get the full experience of raising them, which helps them bond with you. However, they are fragile and require a special heated environment called a brooder for their first 6-8 weeks.
- Pullets: These are adolescent female chickens, typically between 8 and 20 weeks old. They are more expensive but are past the delicate chick stage and are just a few weeks or months away from laying their first eggs. This is a great, lower-maintenance option for beginners.
- Mature Hens: These are fully grown, laying hens. While it sounds convenient, it can be risky. You may unknowingly inherit diseases, parasites, or behavioral issues from their previous home.
For a first-time owner, starting with day-old chicks or pullets is highly recommended.
Step 3: Setting Up the Brooder
If you choose to start with day-old chicks, you will need a brooder for their first 6-8 weeks. A brooder is essentially a temporary, heated home that keeps them safe, warm, and contained until they are old enough to move to the outdoor coop.
Brooder Setup Checklist
| Item | Description |
| Container | A large plastic tote, a stock tank, or a large cardboard box will work. Ensure it has high sides to prevent chicks from escaping. |
| Bedding | Pine shavings are ideal. Avoid cedar shavings (can cause respiratory issues) and newspaper (can cause leg problems). |
| Heat Source | A 250-watt red heat lamp or a radiant heating plate. The temperature should be 95°F (35°C) for the first week. |
| Thermometer | Place it at chick-level to accurately monitor the temperature. |
| Chick Feeder | A long, narrow feeder designed to prevent chicks from walking in and soiling their food. |
| Chick Waterer | A small waterer designed to prevent chicks from falling in and drowning. Placing marbles or pebbles in the trough can help. |
| Chick Starter Feed | A specially formulated, high-protein crumble. Choose a medicated feed to protect against coccidiosis, a common and deadly chick parasite. |
Your brooder should be set up in a safe, draft-free location like a garage, basement, or spare room. Start the heat source 24 hours before the chicks arrive to ensure the temperature is stable. For the first week, the temperature should be a consistent 95°F. You can then reduce the temperature by 5 degrees each week until the chicks are fully feathered and accustomed to room temperature.
Step 4: The Coop and Run
While your chicks are in the brooder, you have time to set up their permanent outdoor home. The coop is where your chickens will sleep, lay their eggs, and seek shelter. The run is their safe outdoor space for foraging and exercise.
Essential Coop Features
Whether you build a DIY coop or buy a pre-made one, it must have these four critical features:
- Ventilation: Good airflow is crucial for preventing respiratory illnesses and reducing moisture. Vents should be located high up in the coop, above the roosting bars, to let ammonia and moist air escape without creating a draft on the birds.
- Roosting Bars: Chickens sleep on roosts, not on the floor. Provide at least 8-10 inches of roosting space per chicken. A 2x4 board with the wide side up makes an excellent roost. See our post on DIY Chicken Roosts.
- Nesting Boxes: You need one nesting box for every 3-4 hens. A 12x12x12 inch box filled with clean bedding (like straw or pine shavings) is perfect. Place them in a quiet, dark area of the coop.
- Predator-Proofing: This is non-negotiable. Raccoons, hawks, foxes, and even neighborhood dogs can be a threat. Use hardware cloth (½ inch or ¼ inch wire mesh) over all windows and vents. Simple chicken wire is not strong enough to stop a determined predator. Ensure all doors and latches are secure with complex, two-step locks that a raccoon cannot easily open.
The Run: A Safe Outdoor Space
The run is the chickens' outdoor enclosure. It should be fully enclosed (including a top cover of wire or netting to protect from aerial predators) and attached securely to the coop. The more space, the better. The minimum recommendation is 8-10 square feet per bird. A spacious run prevents boredom, reduces bullying, and keeps the area cleaner.
Step 5: Daily Care and Feeding
Once your chickens are mature enough to move into their coop (around 6-8 weeks old), you'll settle into a daily routine.
Basic Chicken Feed Guide
A chicken's nutritional needs change as it grows. Feeding them the right food at the right time is essential for their health and egg production.
| Age | Feed Type | Protein Content | Notes |
| 0-8 Weeks | Starter Crumble | 20-24% | High protein for rapid growth. Medicated is recommended. |
| 8-18 Weeks | Grower/Developer | 16-18% | Lower protein to support steady growth without rushing maturity. |
| 18+ Weeks | Layer Feed | 16% | Contains added calcium essential for strong eggshells. Do not feed this to young chicks. |
Always provide a separate dish of crushed oyster shell for your laying hens. This allows them to self-regulate their calcium intake. You should also offer grit, which are small stones that chickens store in their gizzard to help grind up their food.
Water, Treats, and Health Checks
- Water: Chickens need constant access to clean, fresh water. Dehydration can quickly impact health and stop egg production. Clean the waterer daily.
- Treats: Treats are a great way to bond with your flock, but they should make up no more than 10% of their diet. Healthy options include scratch grains, mealworms, and fresh greens like lettuce and kale.
- Daily Health Check: Each day, take a moment to observe your flock. Look for bright, clear eyes, clean nostrils, and smooth legs. Watch their behavior. A healthy chicken is active, alert, and social. An isolated, lethargic, or fluffed-up chicken may be sick.
Step 6: The Arrival of Fresh Eggs

The moment you’ve been waiting for! Depending on the breed, hens will start laying eggs anywhere from 18 to 24 weeks of age. Signs that the first egg is near include your pullets showing interest in the nesting boxes, making a specific "egg song" (a loud series of cackles), and developing a deeper red color in their combs and wattles.
The first eggs are often small, oddly shaped, or may even be soft-shelled. This is completely normal. Within a few weeks, your hens will settle into a regular laying pattern, providing you with delicious, fresh eggs. Collect eggs daily to keep them clean and prevent hens from going broody or eating them.
Raising your first flock of backyard chickens is an incredibly fulfilling experience. By following these steps, you can provide a safe, healthy, and happy home for your birds and set yourself up for years of enjoyment and a steady supply of the best eggs you’ll ever have. Happy hen keeping!
Comments
No Comments